Modern Pastel Easter Nails: Trends & Easy DIY Designs
As spring breathes new life into the world and Easter Sunday approaches, it's time to refresh not just our wardrobes and homes, but also our personal style right down to our fingertips. While planning festive outfits and menus, don't overlook the potential of a beautiful manicure to complete your celebratory look. This year, the focus is on a harmonious blend of classic charm and contemporary chic: Modern Pastel Easter Nails. Gone are the days of overly cartoonish designs; instead, we're embracing sophisticated pastels and effortlessly elegant nail art that are surprisingly simple to achieve at home.
From soft, dreamy hues to playful patterns, these simple Easter nail ideas offer a fresh take on springtime beauty. Whether you're a seasoned DIY nail artist or a complete beginner, this guide will provide inspiration and practical steps to ensure your mani perfectly matches your festive spirit.
Embracing the Pastel Palette: Trending Shades & Motifs
Pastel colors are synonymous with Easter and spring, evoking a sense of renewal, freshness, and delicate beauty. This season, however, sees these beloved shades take on a more refined and versatile role. Forget just baby pinks and blues; modern pastels include a wider spectrum that feels sophisticated and grown-up.
- Soft Yellows: Think beyond bright canary. Butter yellow and creamy lemonade shades are incredibly popular, offering a cheerful yet understated elegance.
- Muted Greens: From gentle mint to the ever-trendy matcha green, these earthy pastels bring a natural, refreshing vibe.
- Warm Peaches & Corals: Pale peach and soft coral hues add a touch of warmth and vibrancy without being overwhelming.
- Dreamy Lavenders & Lilacs: These romantic purples continue to be a spring favorite, offering a delicate and enchanting appeal.
- Sky Blues: Soft, airy blue tones that remind us of clear spring skies.
Beyond color, specific motifs are making a comeback with a modern twist. Delicate florals, abstract swirls, and updated French tips are all the rage, allowing for creativity while maintaining an air of sophistication. The key is often simplicity and thoughtful placement, making many of these designs perfect for anyone seeking Simple Easter Nail Ideas You Can DIY This Spring.
Effortless DIY Pastel Easter Nail Designs
You don't need a salon appointment to achieve a stunning Easter manicure. Many trending pastel designs are incredibly accessible for DIY enthusiasts. Here are some easy-to-follow ideas:
1. The Chic Pastel Skittle Mani
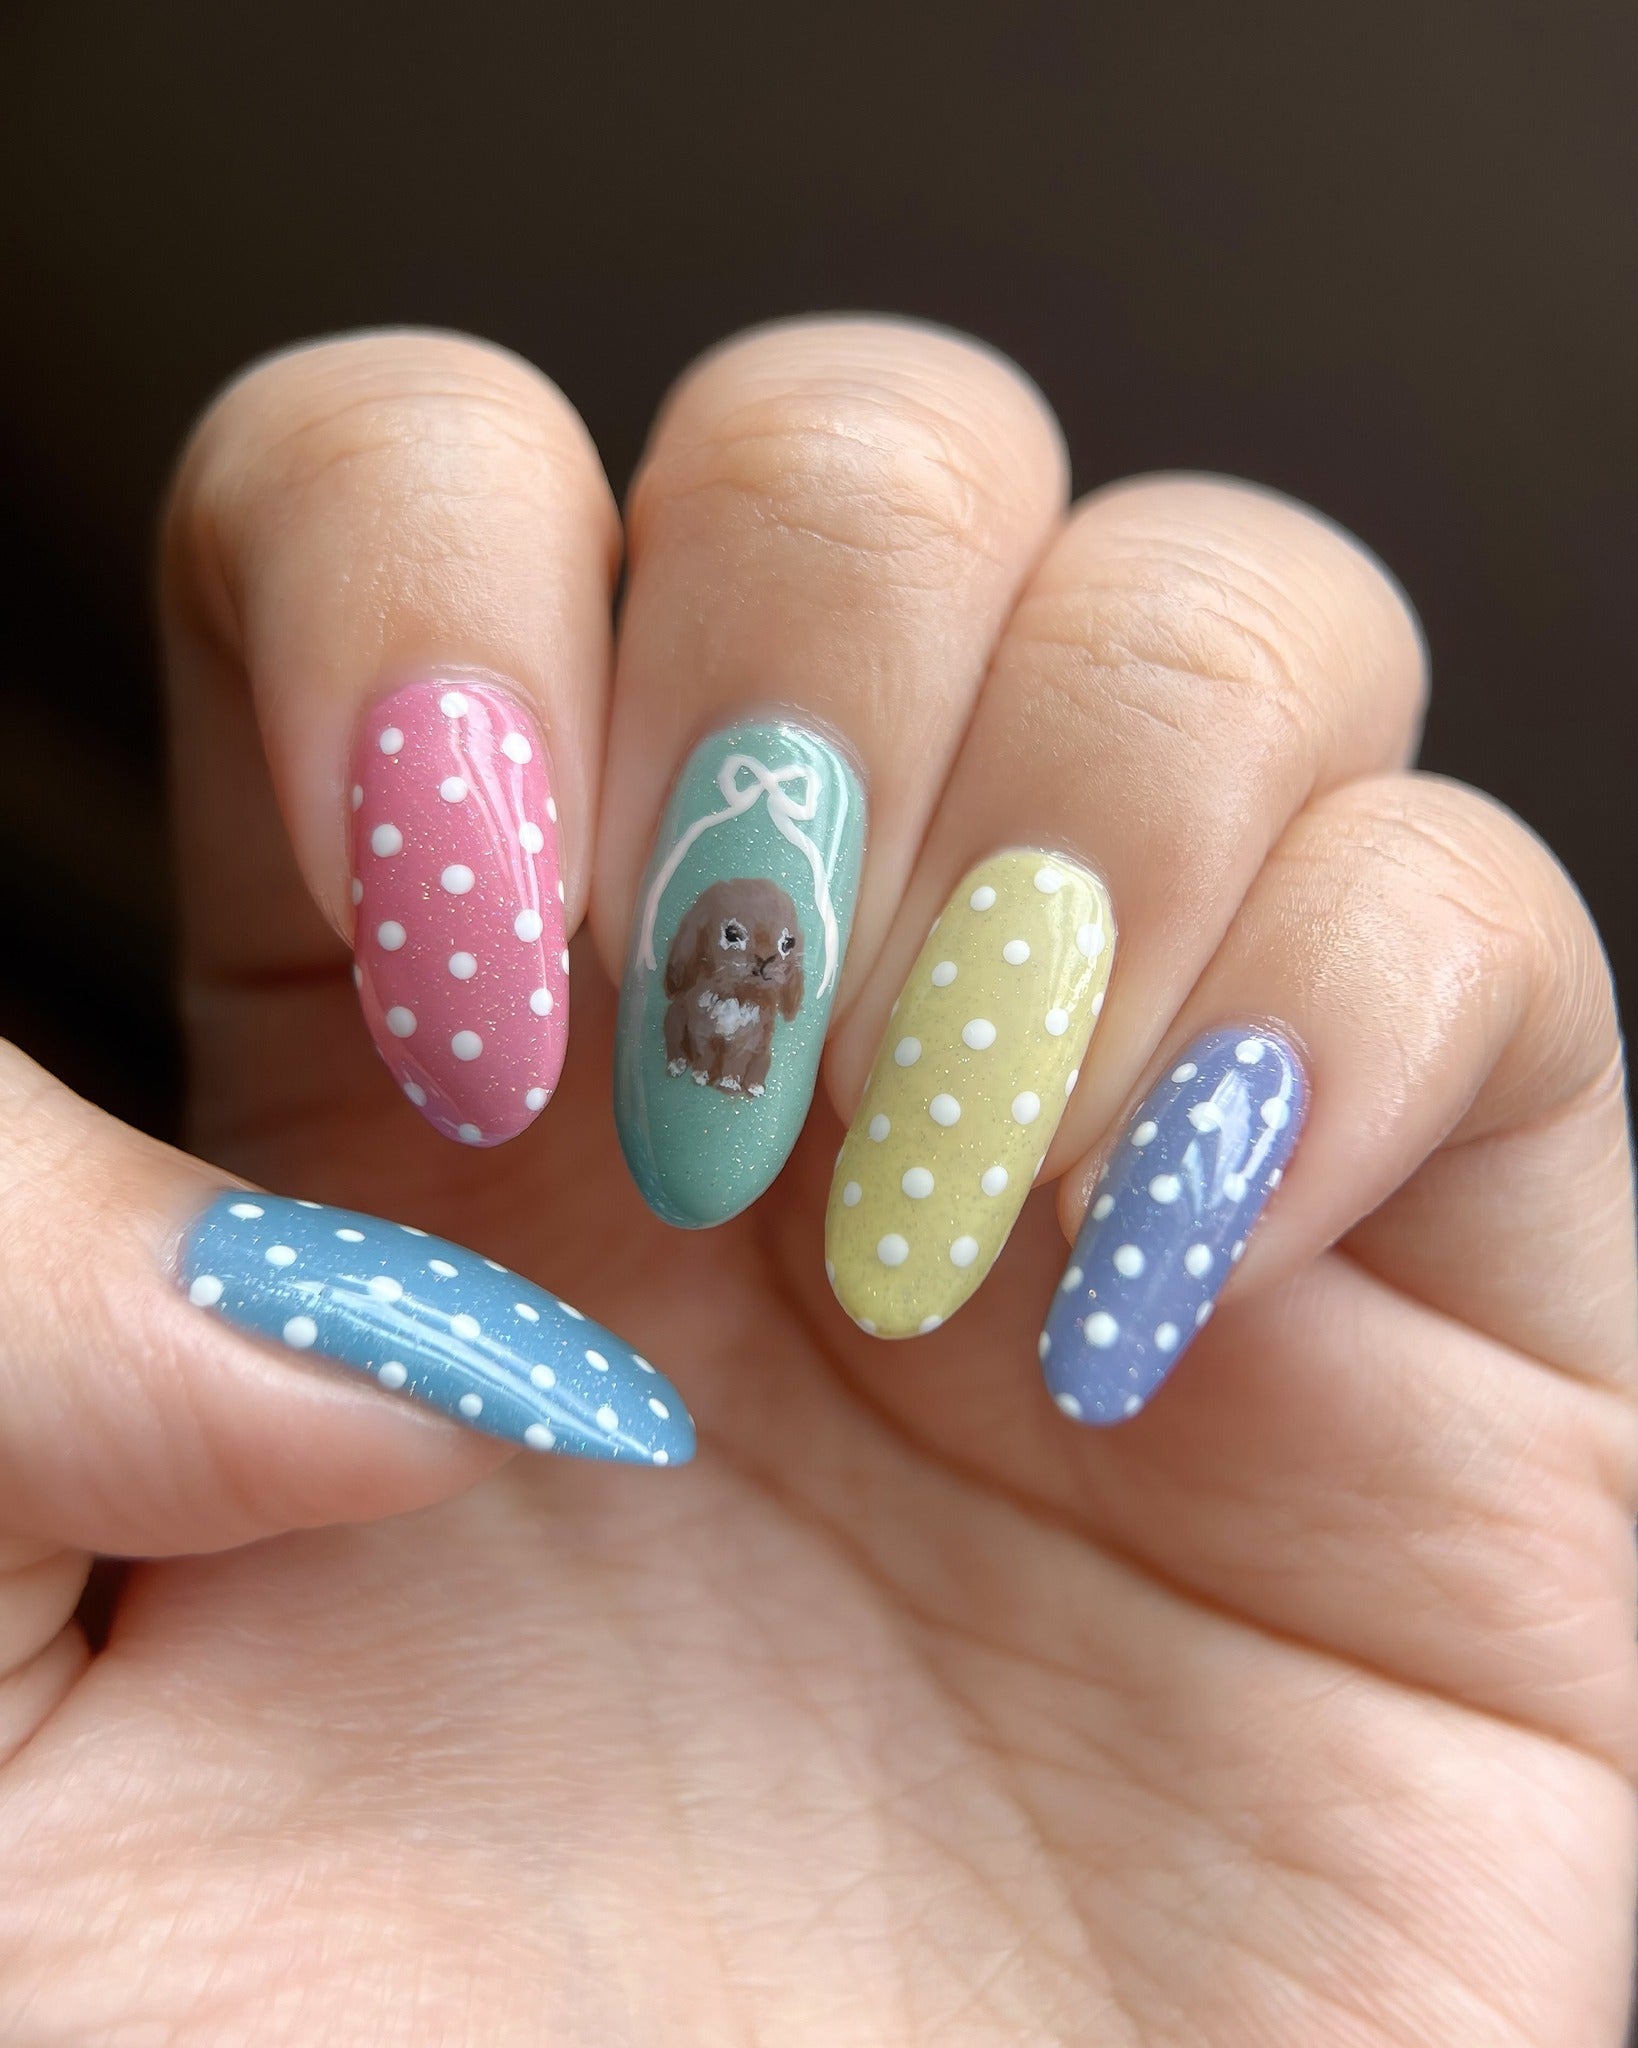
This is arguably one of the easiest and most impactful ways to embrace the pastel trend. The "Skittle" mani involves painting each nail a different color, creating a rainbow effect that’s both playful and chic.
- How to DIY: Simply select 3-5 of your favorite pastel polishes (e.g., butter yellow, mint, peach, lavender, baby blue). Apply two coats of each color to a different nail. For an extra touch of luxury, finish with a velvet-effect top coat to emulate the popular "Jelly Bean Mani" trend, adding a soft, diffused glow that's both sweet and sophisticated.
2. Modern Pastel French Tips
The classic French manicure gets a vibrant update with pastel tips. This versatile look can be subtle or bold, depending on your chosen colors.
- How to DIY: Apply a sheer, peachy, or neutral base coat. Once dry, use a nail art brush or French mani stickers to create a clean line across the tip of your nail. Fill in the tip with your chosen pastel polish. You can use one pastel shade for all tips (like a beautiful Top Easter Nail Ideas for a Festive Spring Mani would feature a clean Butter Yellow French), or mix and match different pastel colors for each nail for an "Eclectic French" look. For a minimalist twist, consider a "Negative Space Pastel French," where the nail tip is pastel, but the base is left clear, allowing your natural nail to peek through.
3. Dainty Daisy Dots & Minimalist Florals
What's Easter without a touch of floral charm? Simple dotting techniques can transform your nails into a canvas for delicate spring blossoms.
- How to DIY: After applying a pastel base coat (a soft lime or sheer peach works wonderfully), grab a dotting tool (a bobby pin or toothpick works too!). Pick up a contrasting pastel polish and create five small dots in a circle to form petals. Place a different colored dot in the center for an instant daisy. You can place these on an accent nail, near the cuticle, or scatter them across several nails for a subtle, artistic vibe. A "Sunny Yellow Floral Diagonal French" with tiny daisies painted on the yellow tip section is another cheerful option.
4. Dreamy Pastel Watercolor & Subtle Swirls
For an artistic, ethereal look, watercolor and swirl effects are surprisingly easy to achieve and incredibly captivating.
- How to DIY (Watercolor): Start with a white or very pale base. Apply small, uneven dots of 2-3 different pastel polishes. While they are still wet, gently dab and blend them together with a clean brush or even a piece of plastic wrap, creating a soft, blurred effect. You can also thin your polishes slightly with a drop of clear top coat before applying for a more translucent watercolor look.
- How to DIY (Swirls): For "Butter Yellow Subtle Swirls," apply a base coat. Then, apply a thin layer of your main pastel color (e.g., butter yellow) and while it's still wet, add small drops or lines of a contrasting color (like white). Use a toothpick or a nail art brush to gently swirl the colors together. Alternatively, dab a sponge with two different polishes onto your nail for a marbled effect.
5. Bold Color Block Cuticles & Accent Designs
If you prefer a more graphic and modern look, color blocking your cuticles or creating simple geometric designs can make a statement.
- How to DIY: After your base coat, use a thin nail art brush or strips of nail art tape to section off the cuticle area or a diagonal line. Fill in the blocked-off section with a vibrant pastel shade like matcha green, pale peach, or creamy lavender. Remove the tape carefully for crisp, clean lines. This creates a striking yet minimalist effect that’s incredibly chic. For something a little different, try "Peach and Mint Checkers" on an accent nail, carefully painting small squares in alternating pastel shades for a playful touch.
Elevating Your Easter Mani: Tips for a Professional Finish
Even with simple Easter nail ideas, a few professional touches can make all the difference:
- Prep is Key: Always start with clean, dry nails. Push back cuticles and gently buff for a smooth surface. A good base coat is essential for protecting your nails and making your polish last longer.
- Thin Coats: Apply multiple thin coats of polish rather than one thick one. This prevents bubbling, speeds up drying time, and results in a smoother, more even finish.
- Clean Up: Keep a brush dipped in nail polish remover handy to clean up any mistakes around your cuticles or nail edges. This instantly makes your manicure look more polished.
- Top Coat is Your Friend: A high-quality top coat not only adds shine and protects your design but also extends the life of your manicure significantly. Consider a matte or velvet top coat for an interesting texture play.
- Don't Be Afraid to Mix & Match: You don't have to commit to one design for all ten fingers. An accent nail with a more intricate design, while the others sport a simple Easter nail idea like a pastel Skittle, creates a balanced and visually interesting look.
- Hydration: Finish every manicure with a nourishing cuticle oil. Hydrated cuticles and nails always look better.
Conclusion
This Easter, let your nails be an extension of your festive joy and personal style. With the abundance of modern pastel trends and surprisingly simple DIY techniques, creating a stunning manicure has never been easier or more fun. Whether you opt for the whimsical charm of dainty daisies, the sophisticated allure of a pastel French tip, or the playful vibrancy of a Skittle mani, these simple Easter nail ideas ensure your fingertips are celebration-ready. So, gather your favorite pastel polishes, unleash your inner artist, and get ready to flaunt a truly magnificent spring manicure!